Skip to content
articles guides
articles guides
0
All
Information
Process
All
All
All
Information
Process
Installing Desktop Fonts
Information
Directional Quotations
Information
Style Linking
Information
STD vs PRO
Information
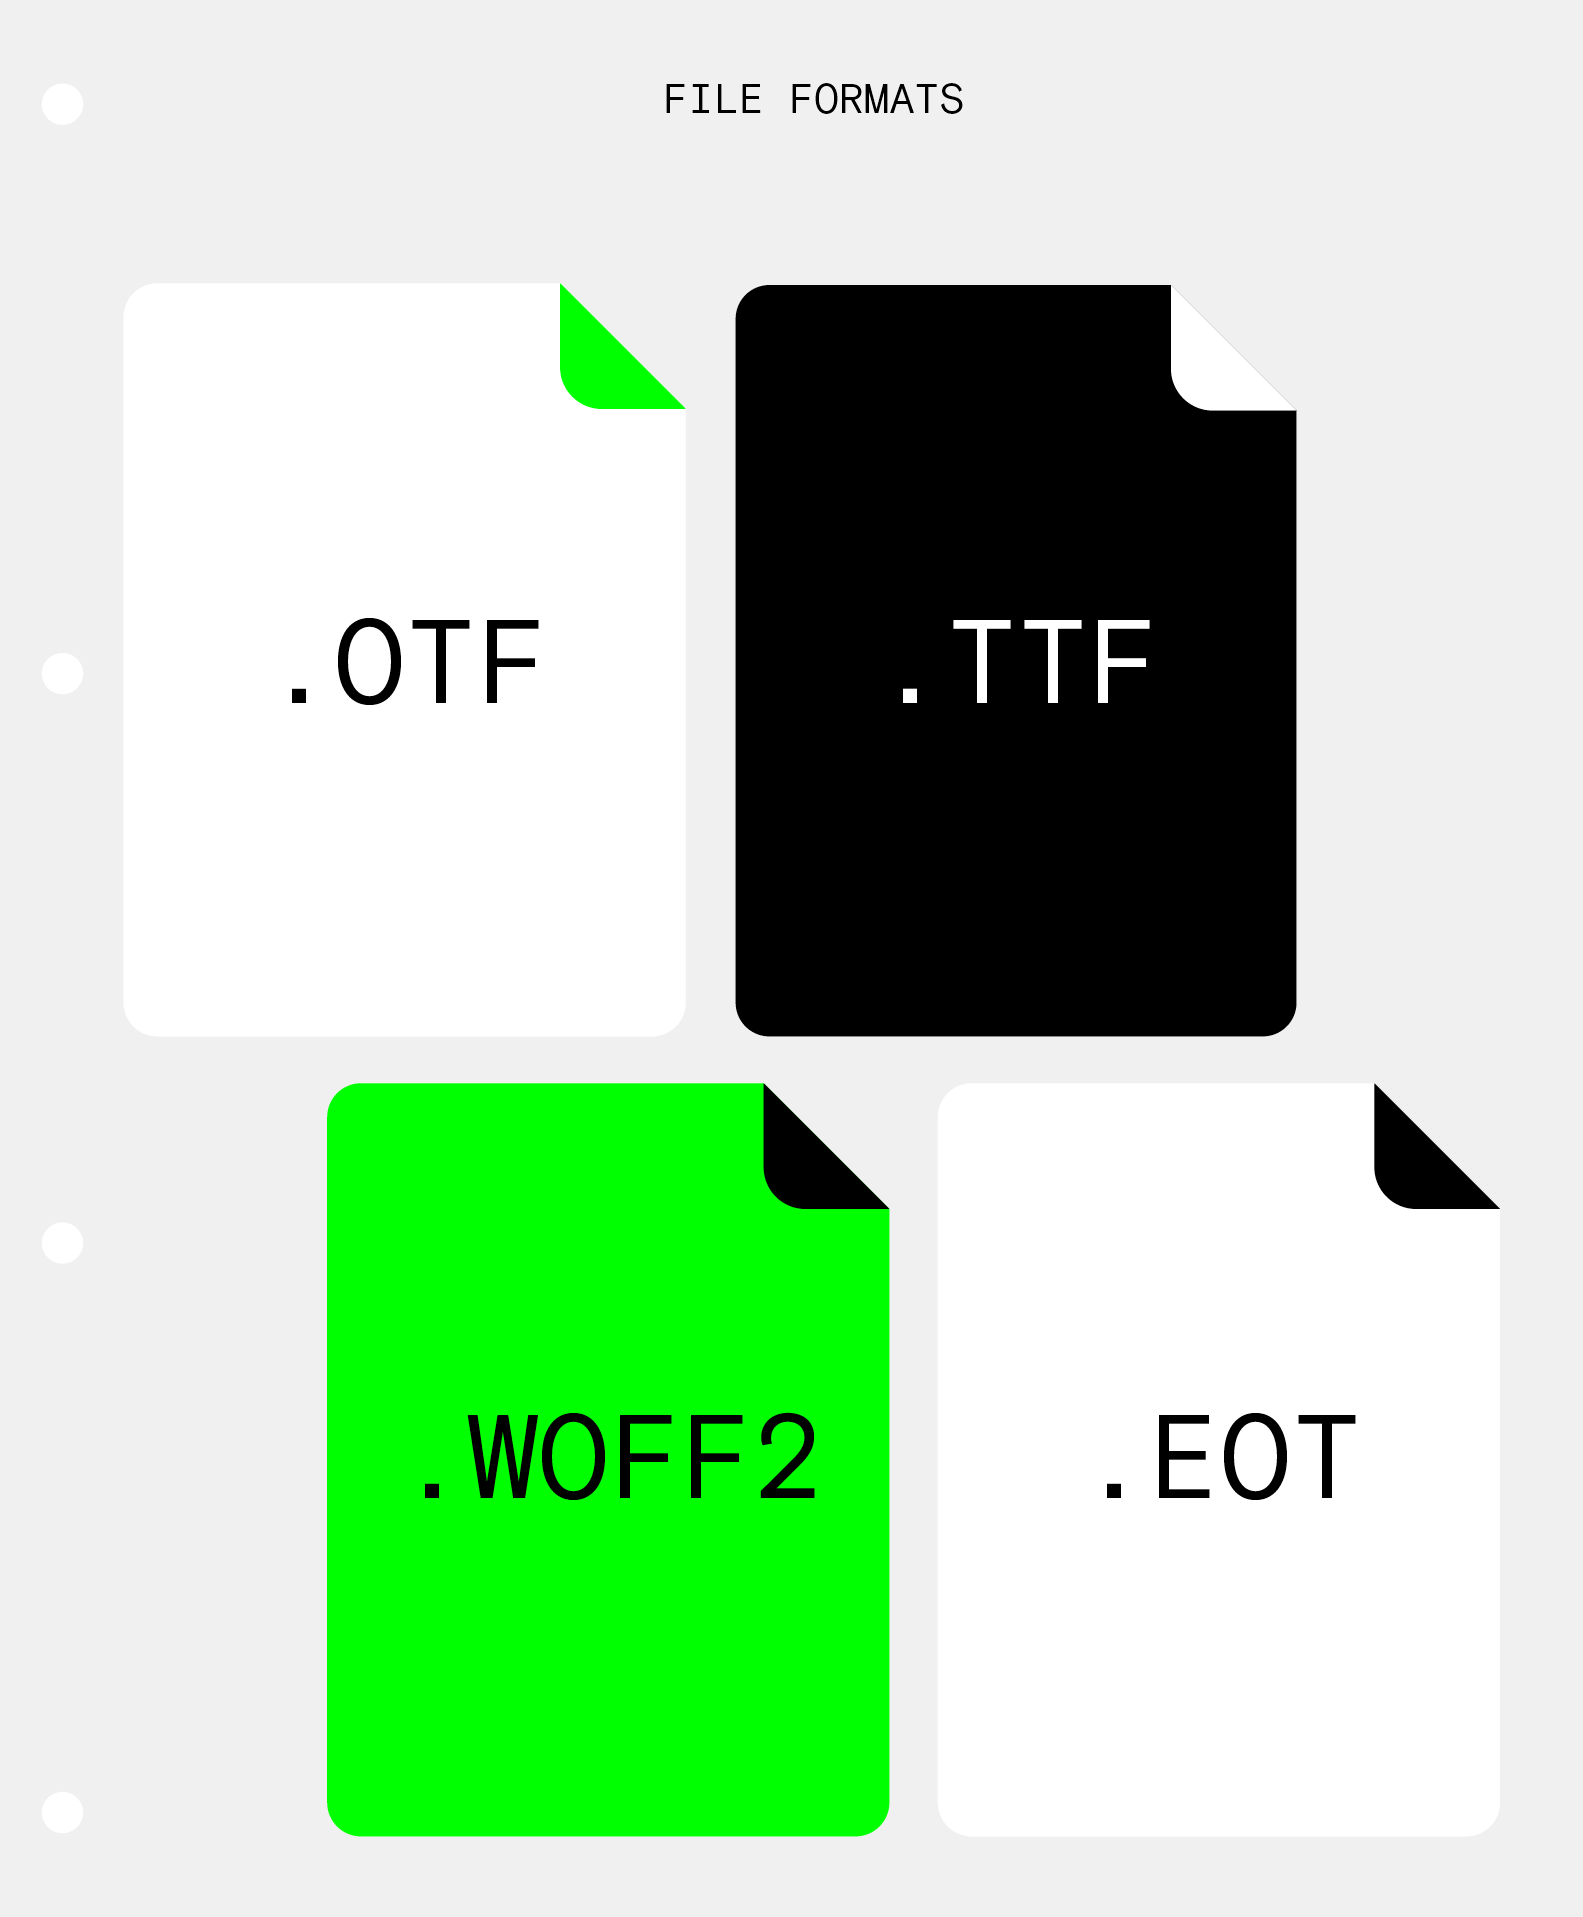
Font Formats
Information
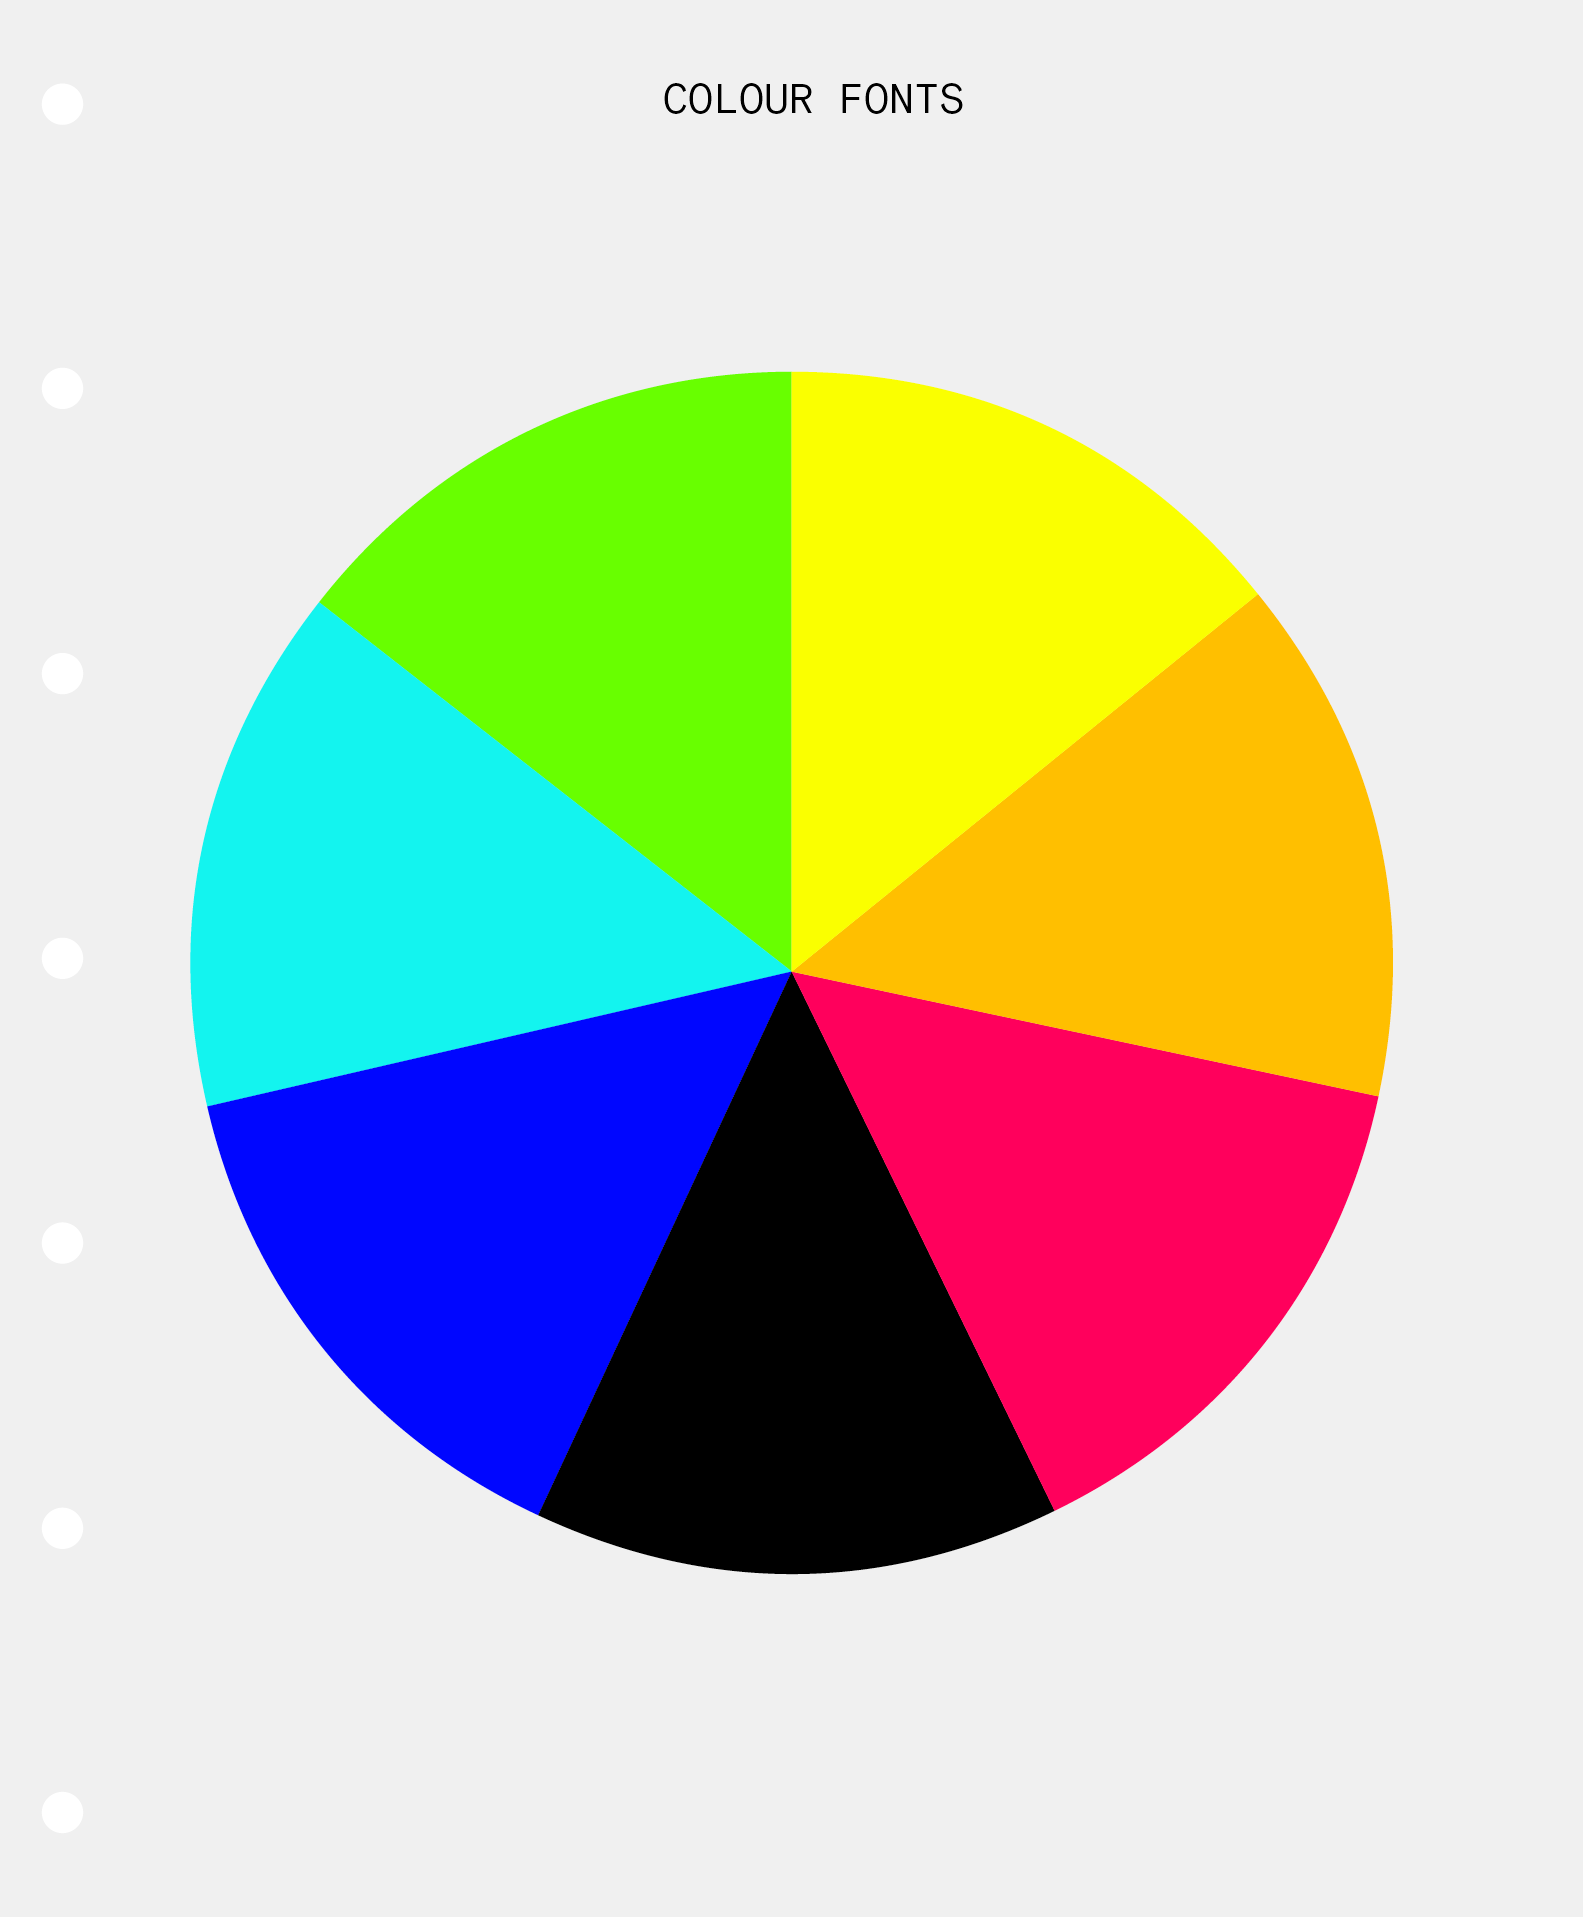
Colour Fonts
Information
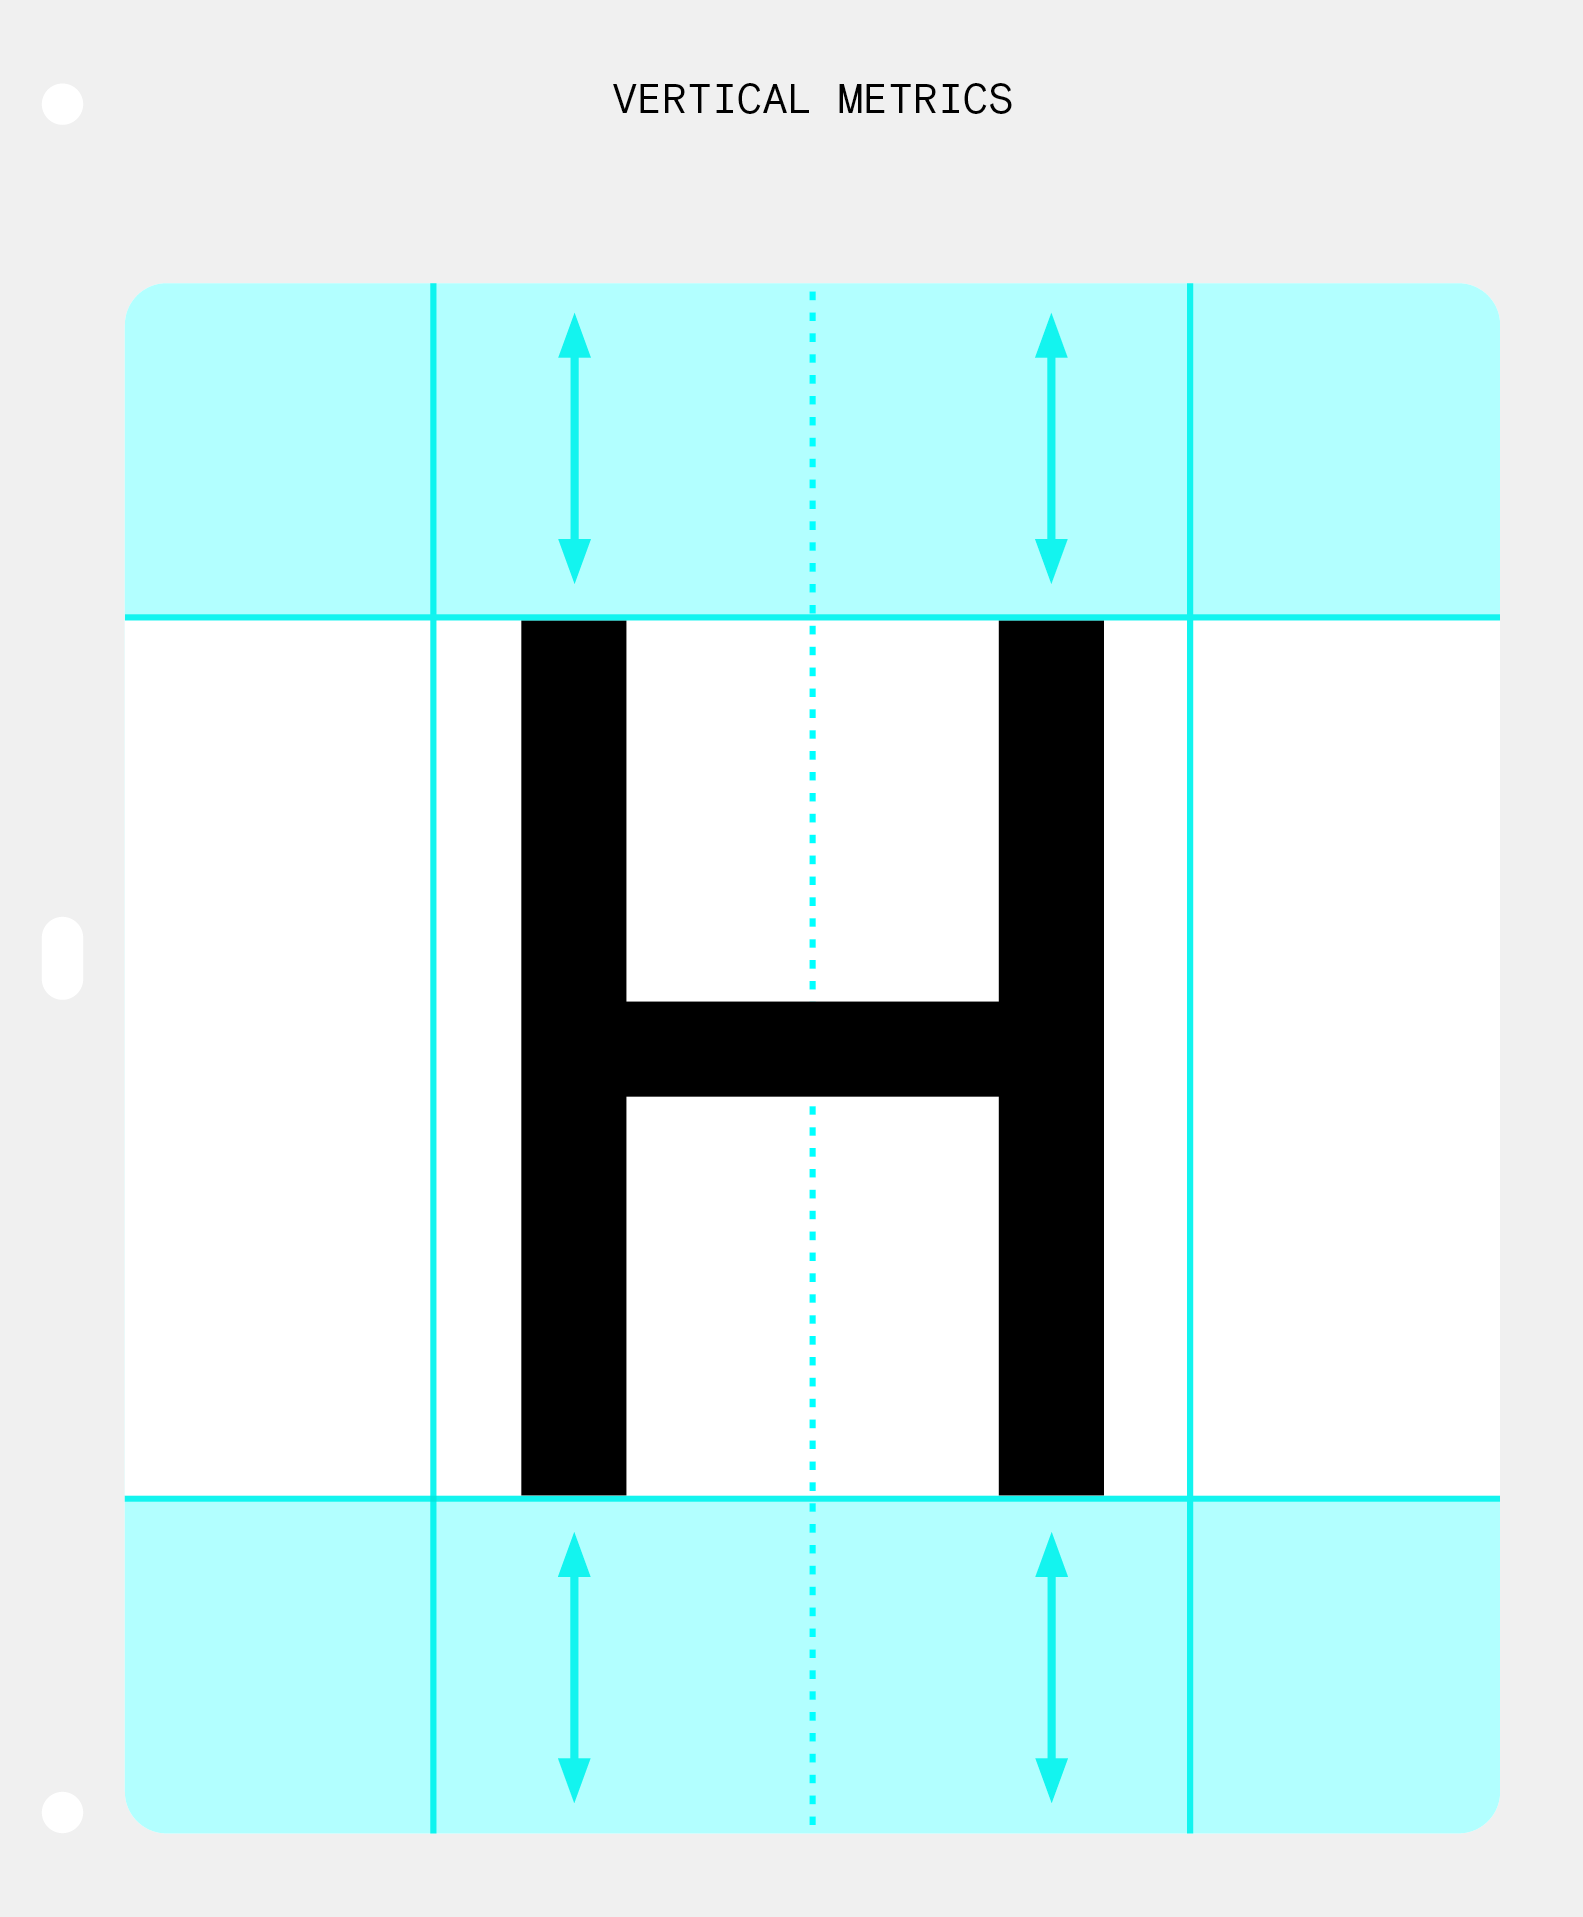
Vertical Metrics
Information
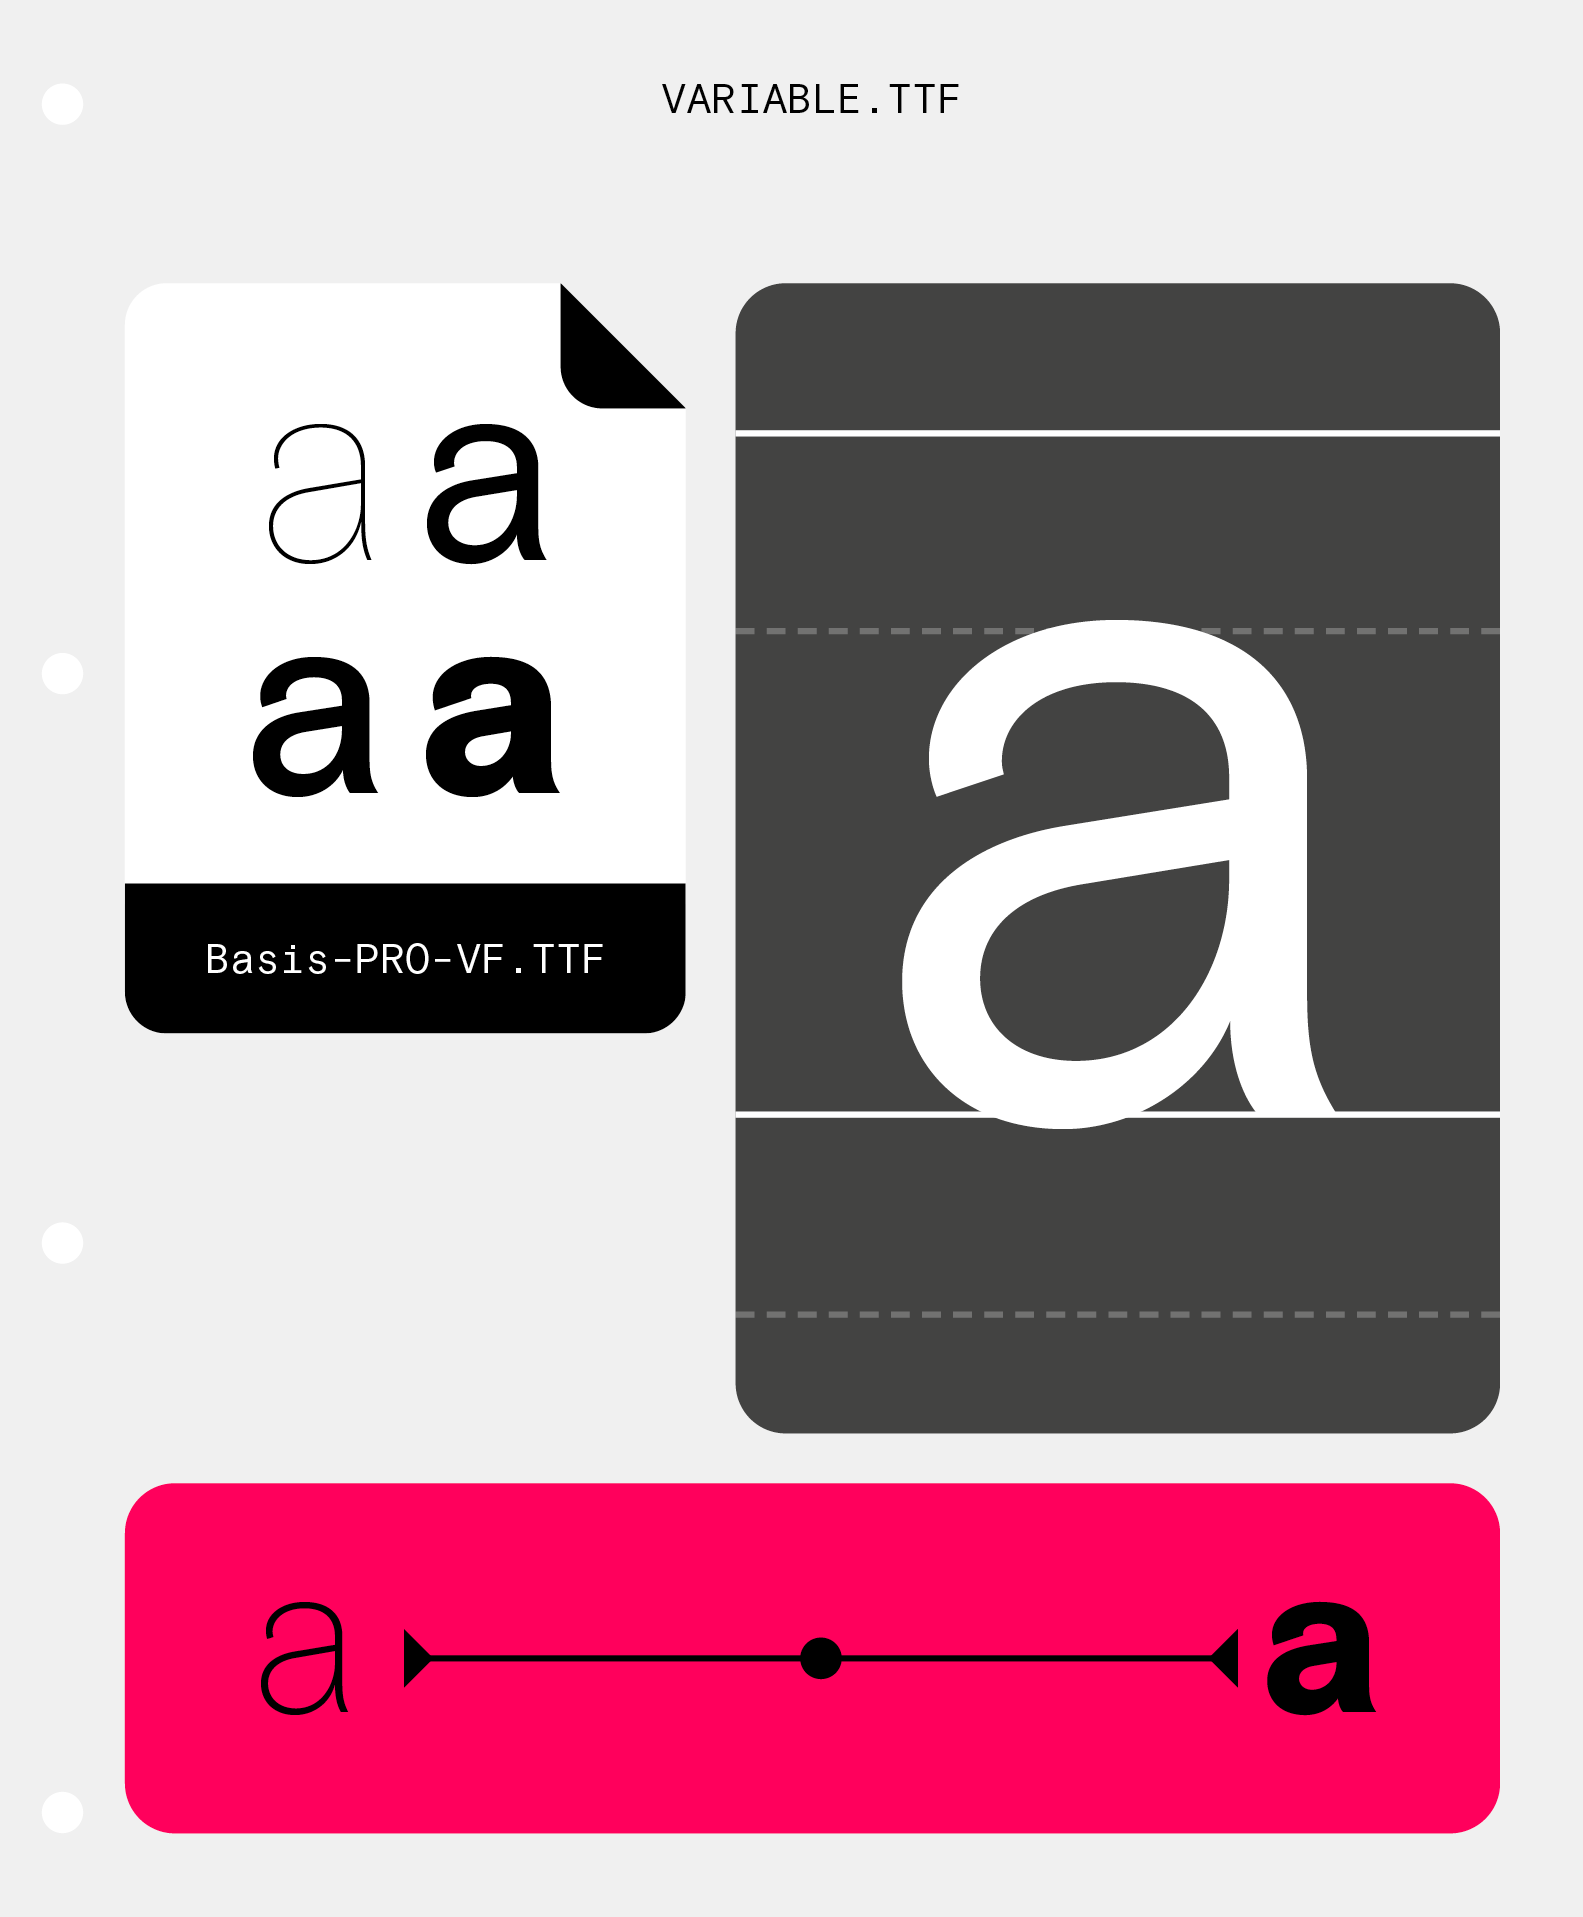
An Intro to Variable Fonts
Information
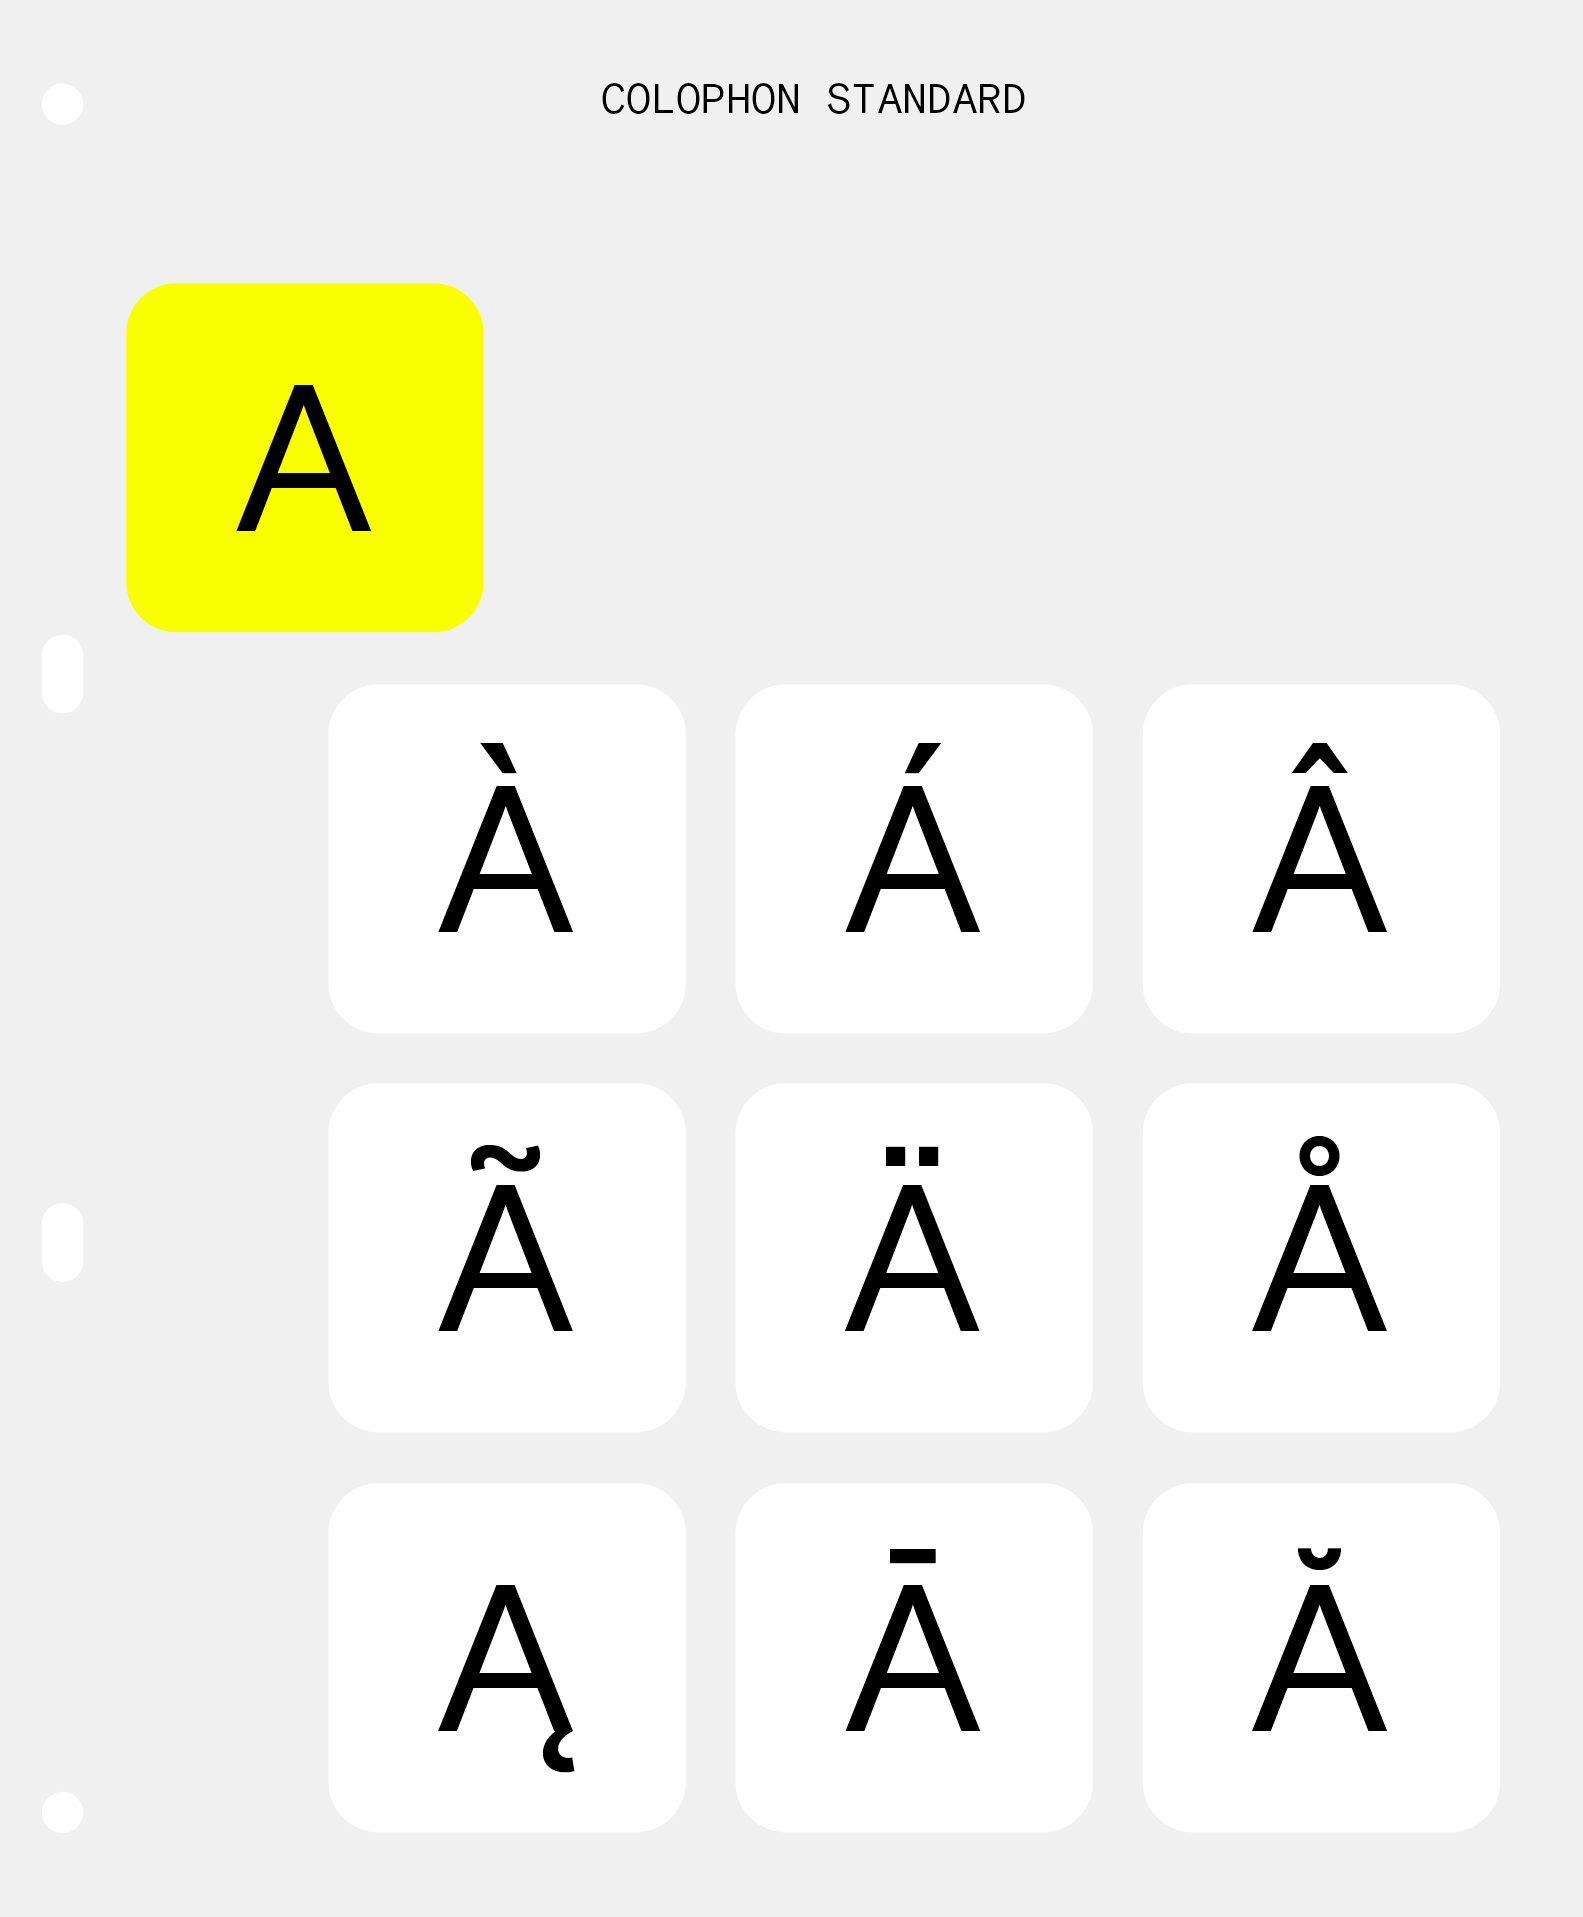
The Colophon Standard
Information
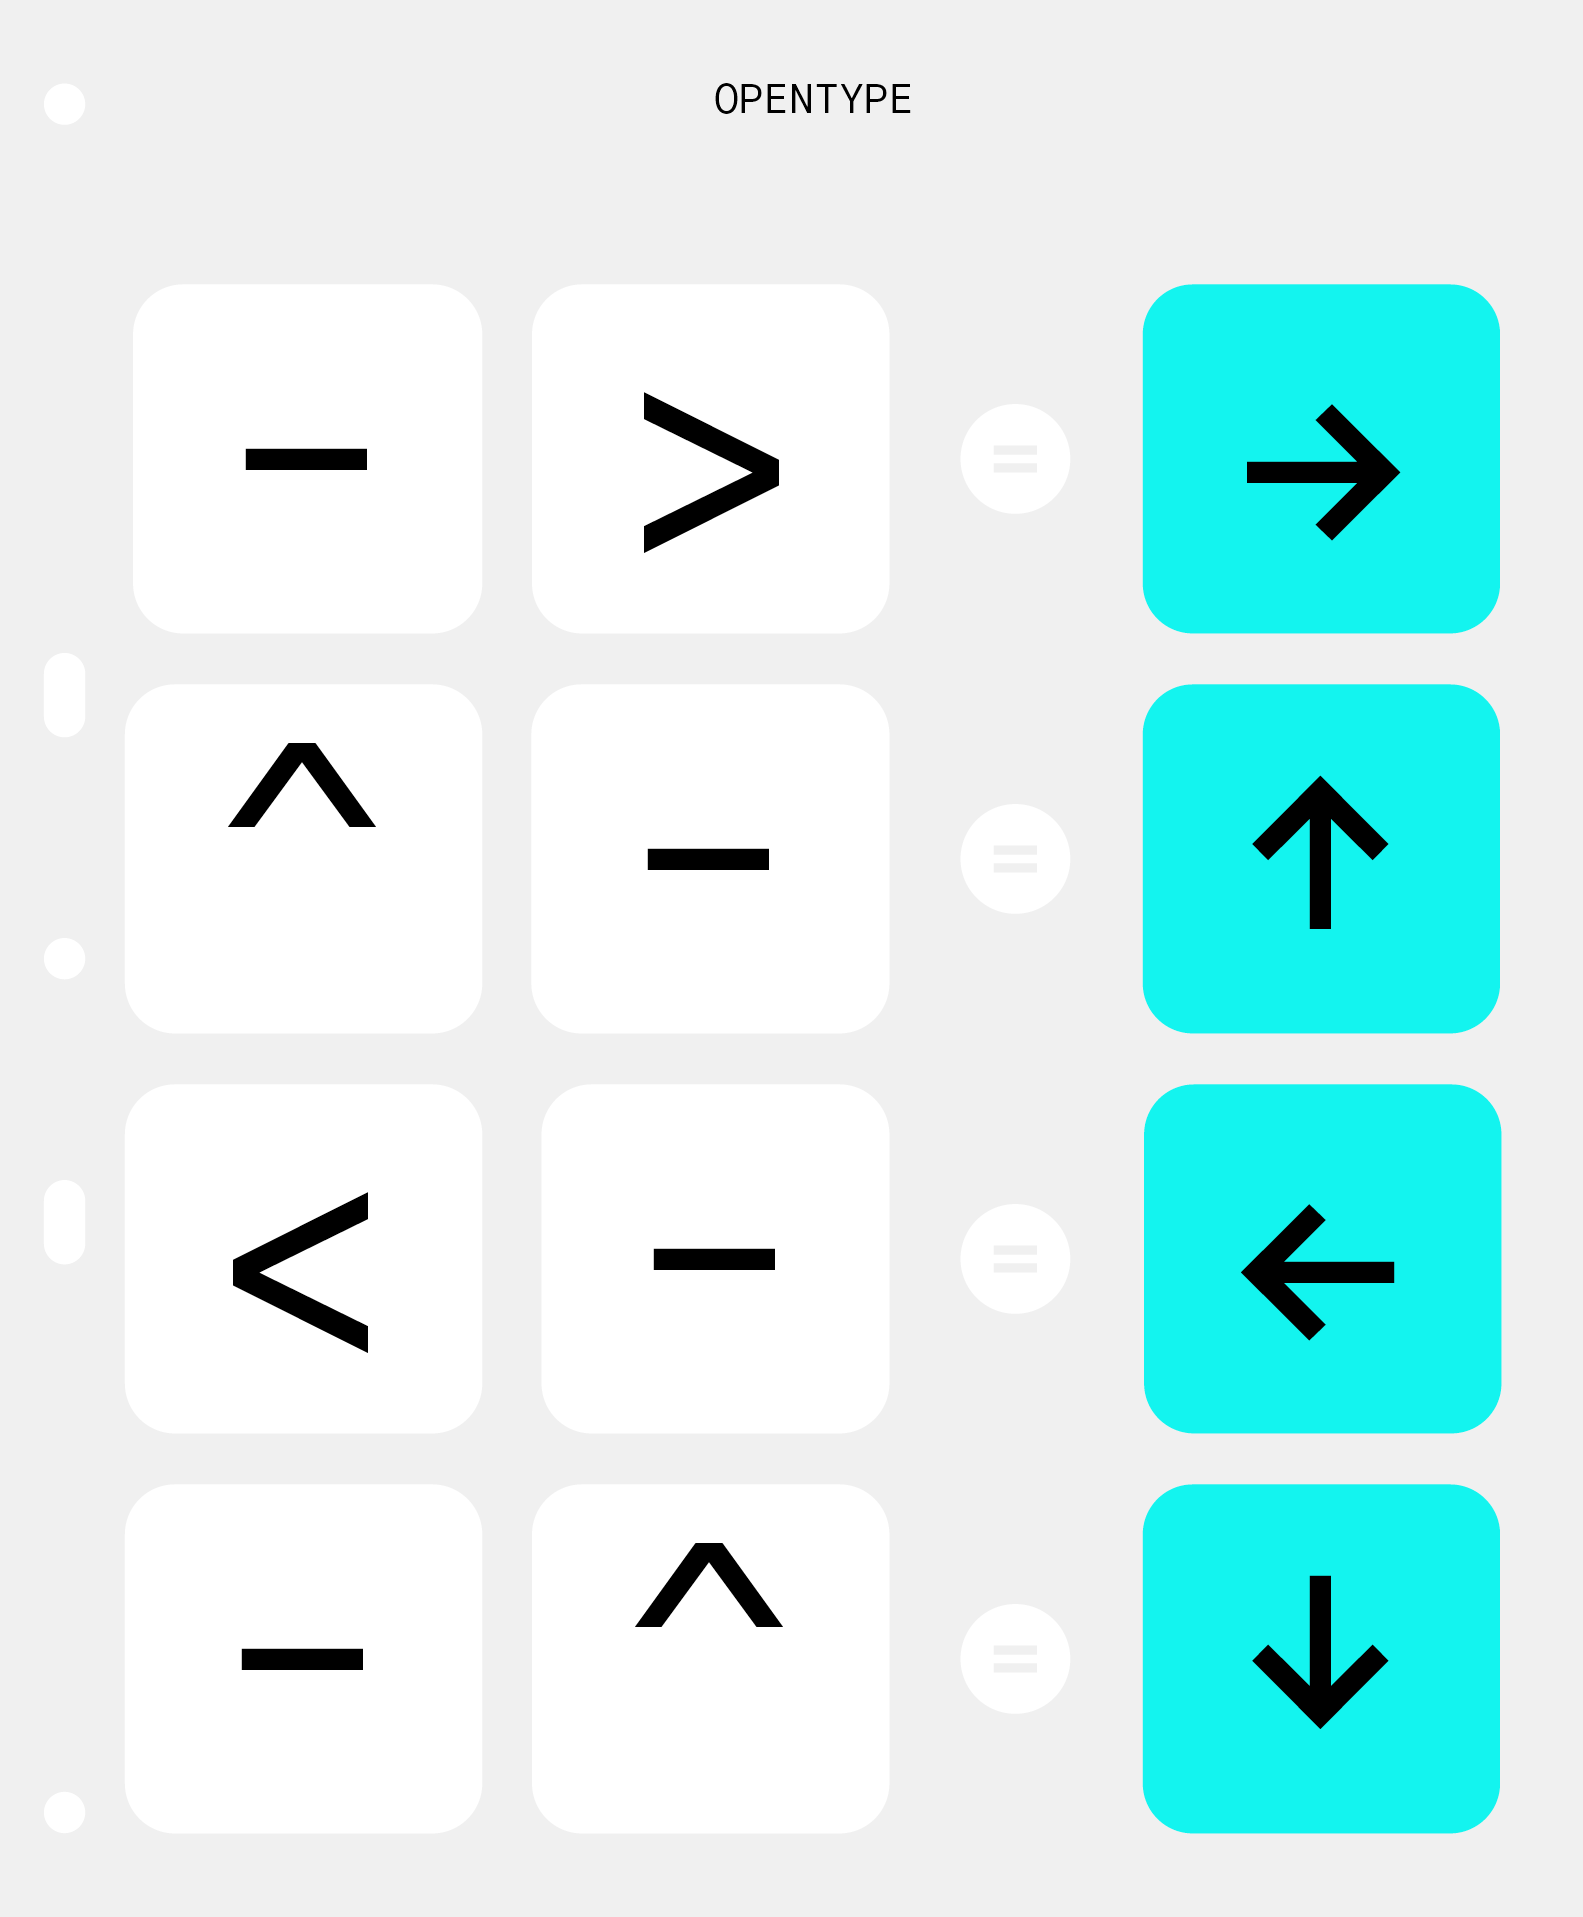
How to Use OpenType Features
Information
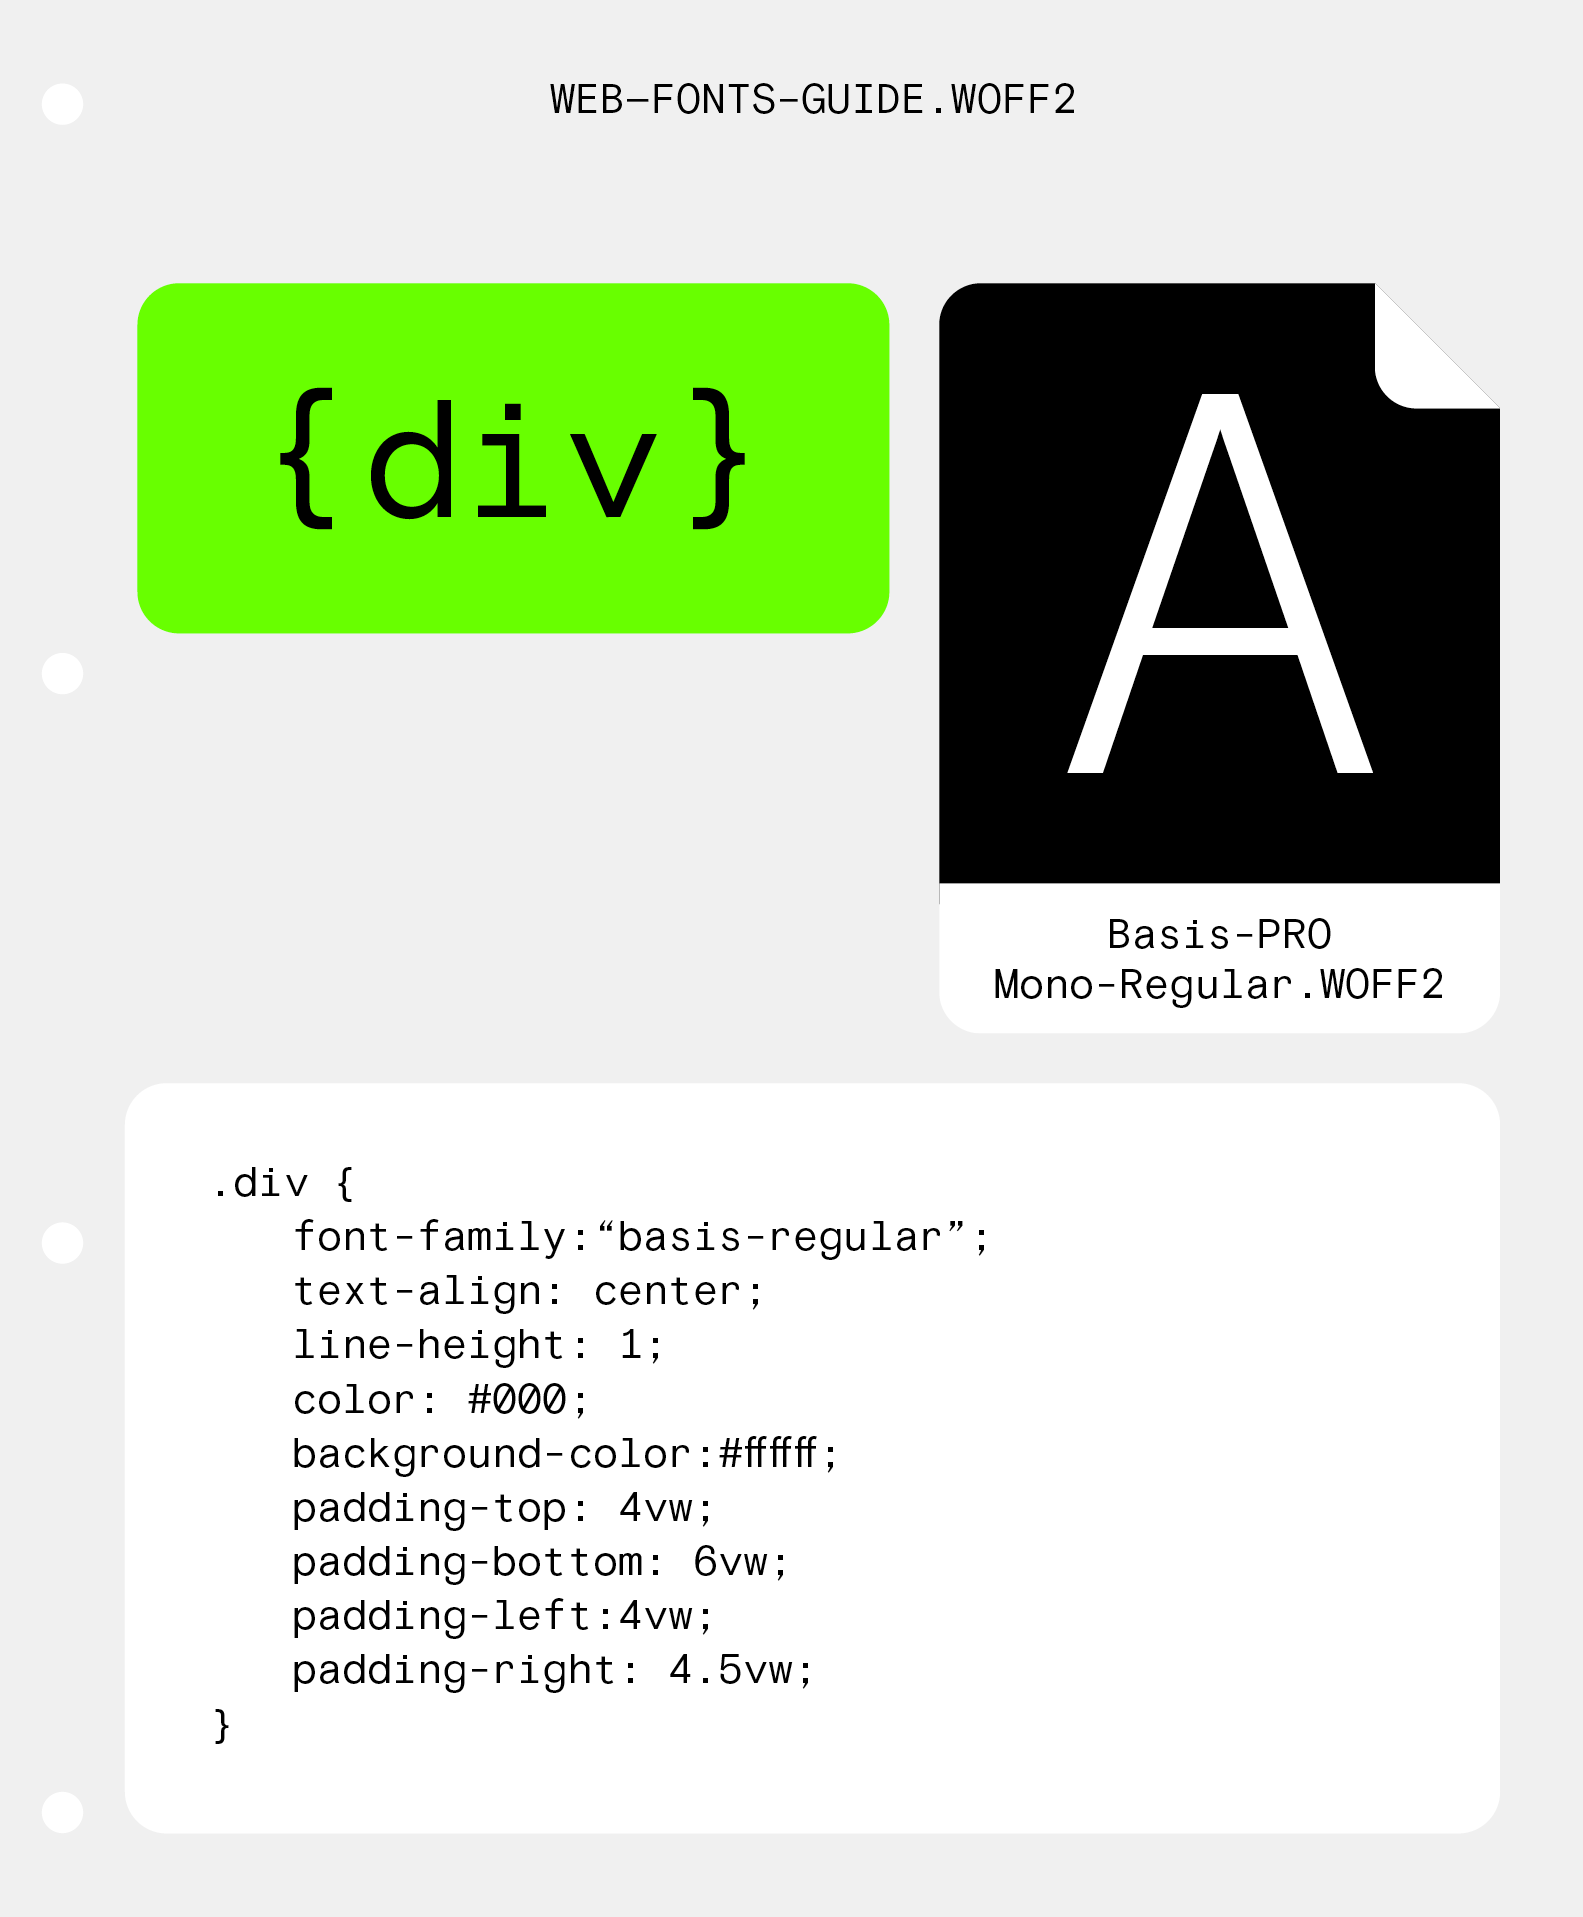
How to Use Webfonts
Information
Apta; Inherent Similarities
Process
Brick; A New Font Brewing
Process
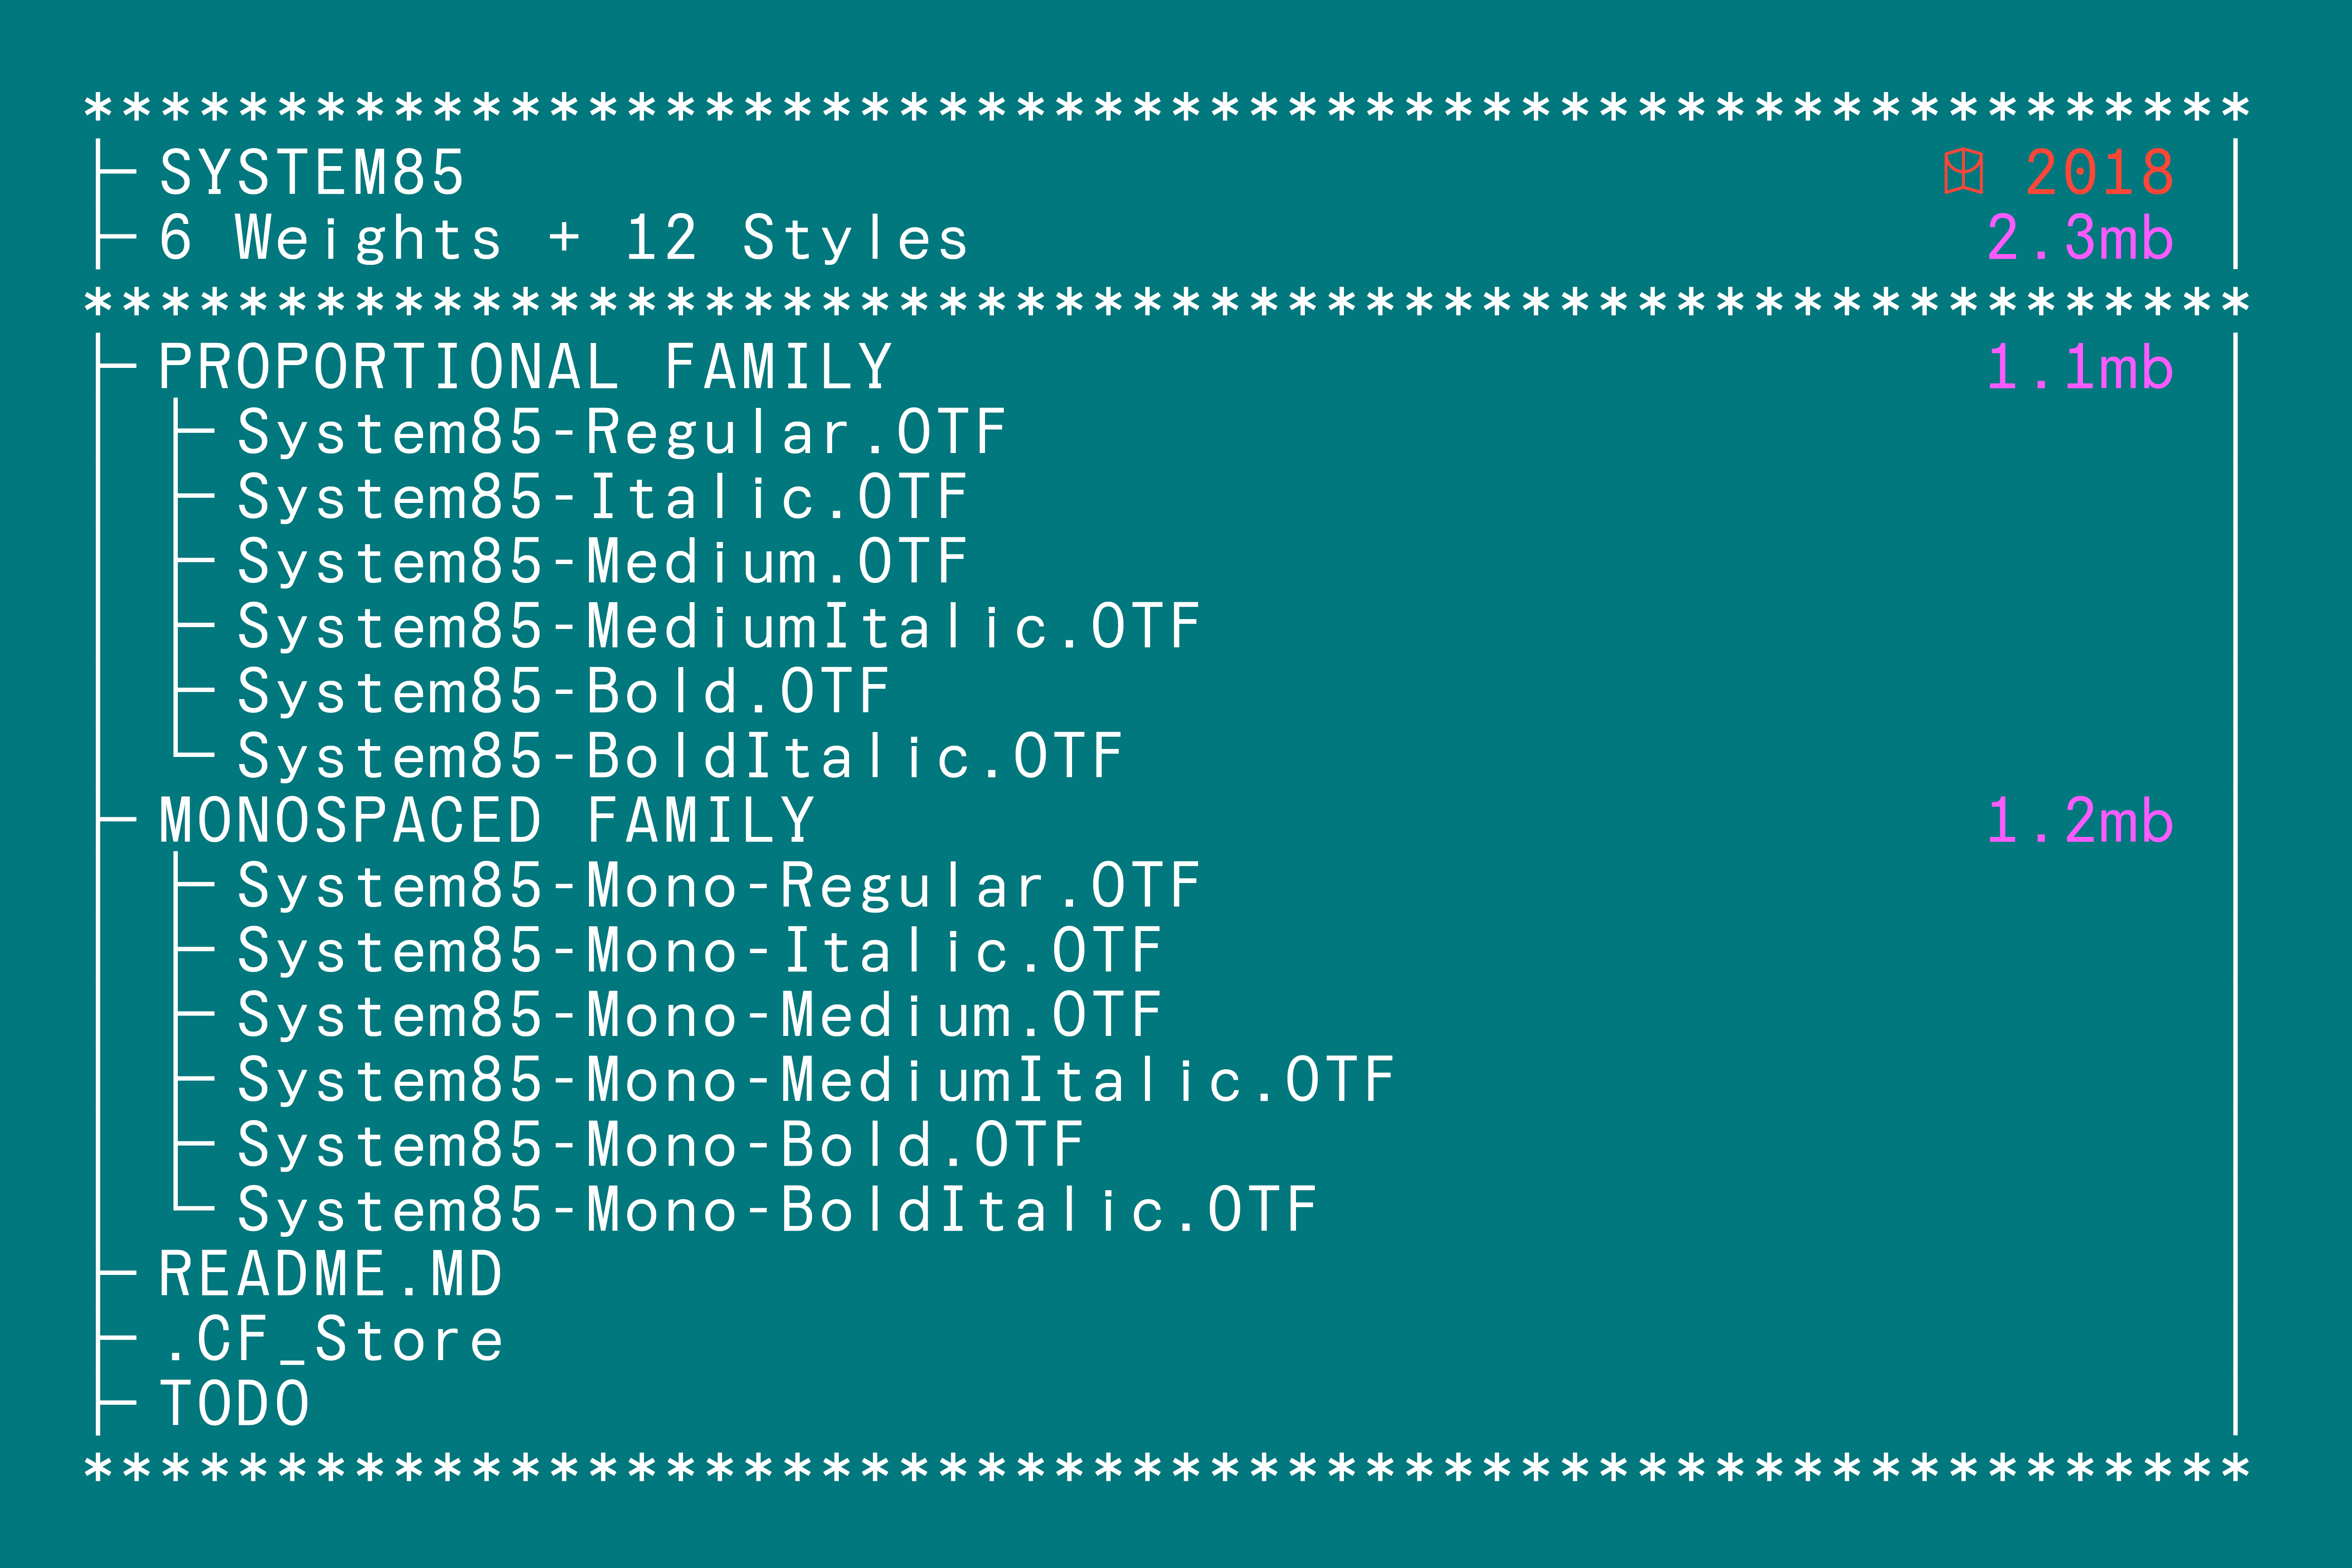
System85; CF-DOS is booting...
Process
Coign; The Most Condensed Font Ever (Probably)
Process
Fann Grotesque; From A Street Near You
Process